In this blog, we will cover the installation, configuration, and validation of the Terrakube tool.
Terrakube is a full replacement for Terraform Enterprise/Terraform Cloud, and it is also open source.
Requirement :
Docker & DockerCompose
AWS/Azure/GCP account
Steps 1: Install Terrakube in docker,
We can install Terrakube in a Kubernetes cluster, but I am following the docker-compose method to install this tool. This link, https://docs.terrakube.org/getting-started/deployment, provides guidance for installing it in Kubernetes
Clone the below git repo,
https://github.com/AzBuilder/terrakube.git
cd terrakube/docker-compose

If you are using AWS/Azure/GCP we need to update the below values according to the cloud provider.
By default AWS storage account configuration will be there, we need to update it according to our environment.
Am using azure for this experiment so here is the configuration,
Open the api.env file,
For Azure purposes comment out all the AWS configurations and add below two lines,
AzureAccountName=tfdevopsart (Storage account name of the TF backend)
AzureAccountKey=XXXXXX (Storage account Key)
And change this variable to local in docker-compose.yaml
volumes:
minio_data:
driver: bridge
to
volumes:
minio_data:
driver: local
Next, run the below command to bring up the docker containers,
docker-compose up -d

Wait for 3 to 5 minutes for all the containers to be up and running.
Execute the below command to check the status of all the containers,
docker ps -a

Step 2: Accessing Terrakube UI
Add the below entries in the local machine host file where the docker is running,
127.0.0.1 terrakube-api
127.0.0.1 terrakube-ui
127.0.0.1 terrakube-executor
127.0.0.1 terrakube-dex
127.0.0.1 terrakube-registry
For Linux, the file path is, /etc/hosts
Now try to access the UI by, http://terrakube-ui:3000

The default admin credential is,
User : admin@example.com, Password : admin
Once logged in, provide Grant access then it will go to the homepage.

Here, I am using Azure, so I am selecting Azure workspace.

Once we select "Azure", it will show the default modules which are available.

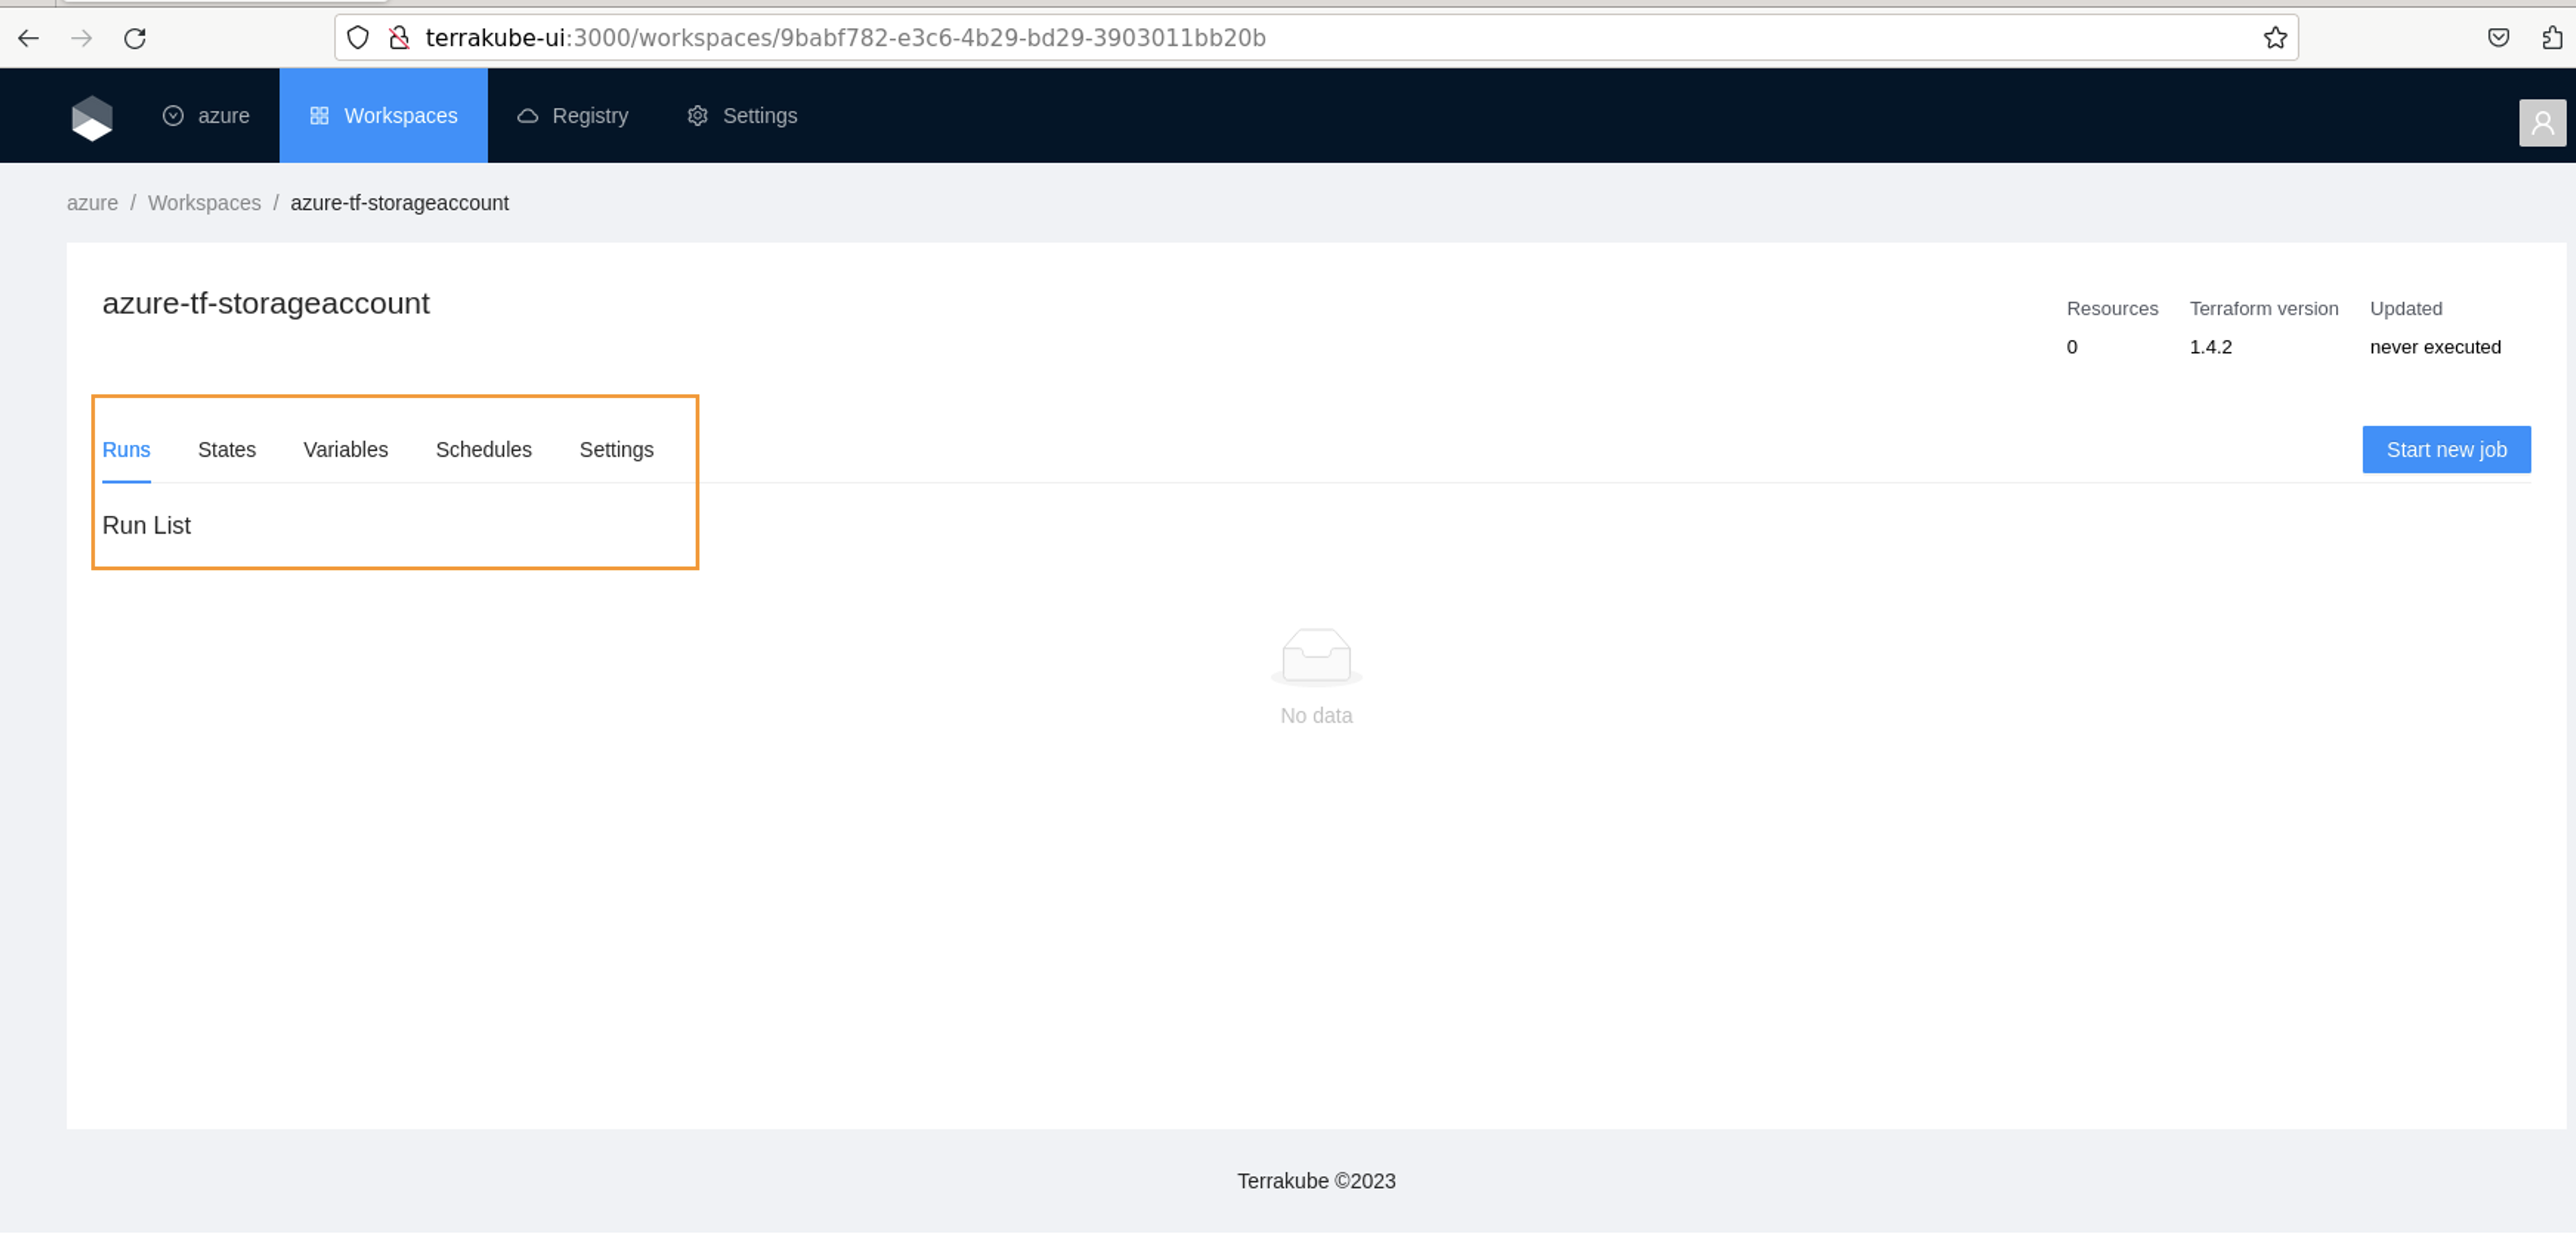
Next, we need to create a workspace by selecting "New Workspace" with our Terraform script. We need to provide details of our Terraform script repository and branch, which will be used to provision the resources.

Here select "Version control flow" for repository-based infra provisioning.
Test repo link, https://github.com/prabhu87/azure-tf-storageaccount.git


Next, click "Start Job" and choose "Plan" (it is the same as Terraform plan). There is an option to choose "Plan and apply" and "Destroy" as well.


It will run and helps to understand what changes are going to happen in the given infra.
In my repo, I had given a simple TF script to create a storage account in Azure.

If we expand, we can see the TF logs.
Next, We will do Plan and Apply option, and then see if it created the storage account on the Azure end.

Next, go to azure and check whether the storage account is created or not,
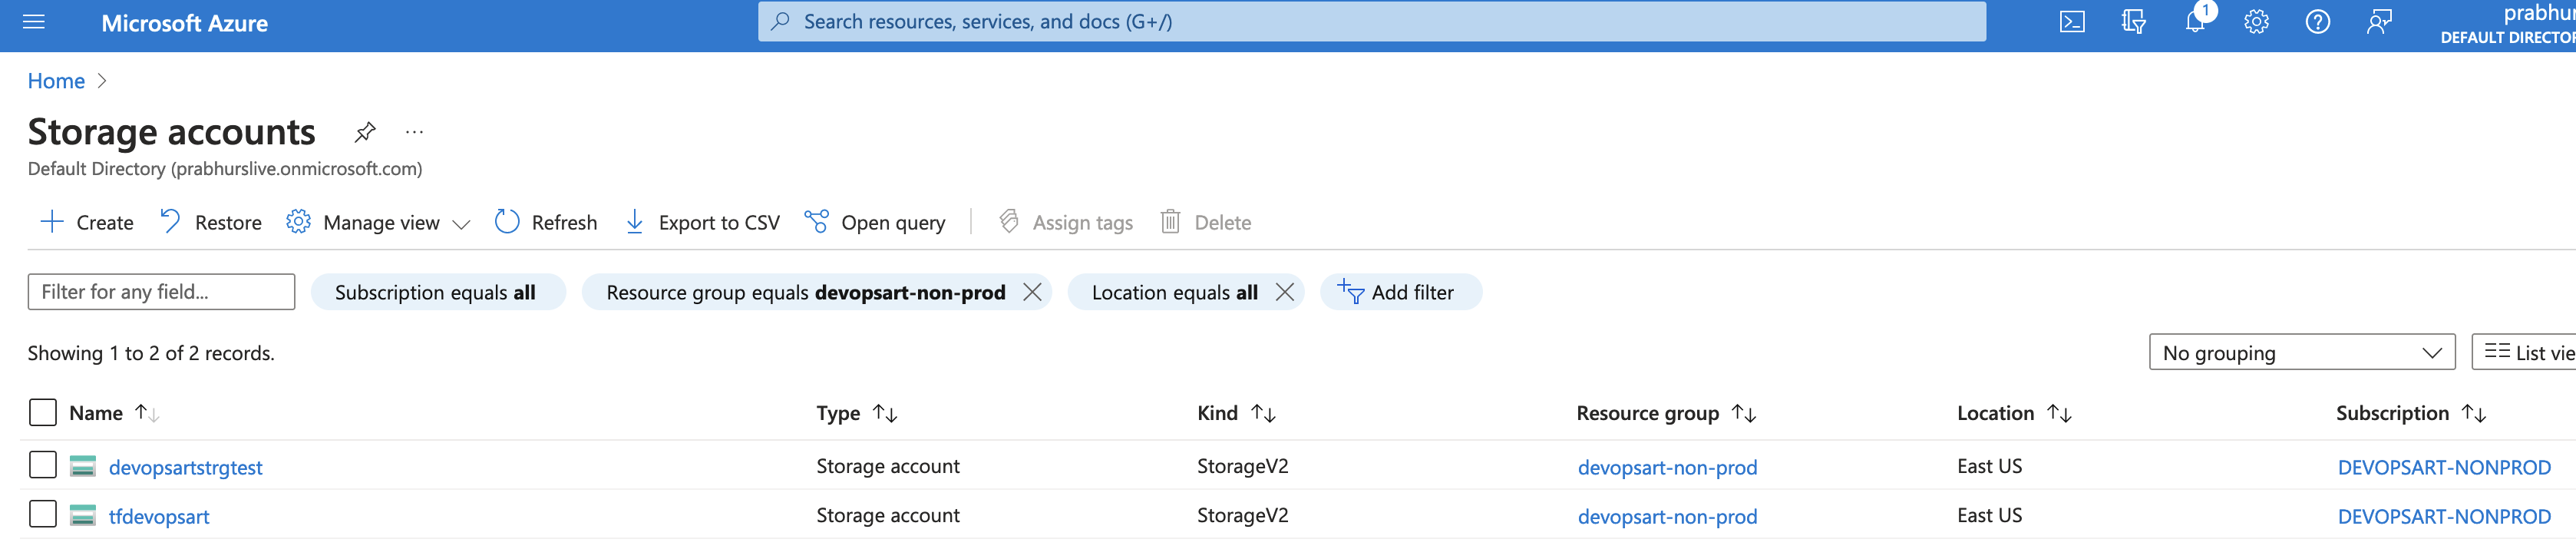
The storage account is created successfully via Terrakube.
There are multiple options are available in this tool,
- We can schedule the script to run
- We can set the environmental variables
- We can check the state file details of each successful execution
- We can set execution based on approvals
- There are multiple plugins available to customise the Terrakube workflow.
That's all, We successfully installed, configured and created a PAAS with the Terrakube tool.
Post a Comment